Quickstart
Get started in 5 min
Goal: a running GPU pod you can SSH into. All steps are in the dashboard at lium.io.
1. Create an account
Sign up at lium.io/register. Click Billing in the sidebar and add a payment method — your account balance shows in the top-left of the dashboard.
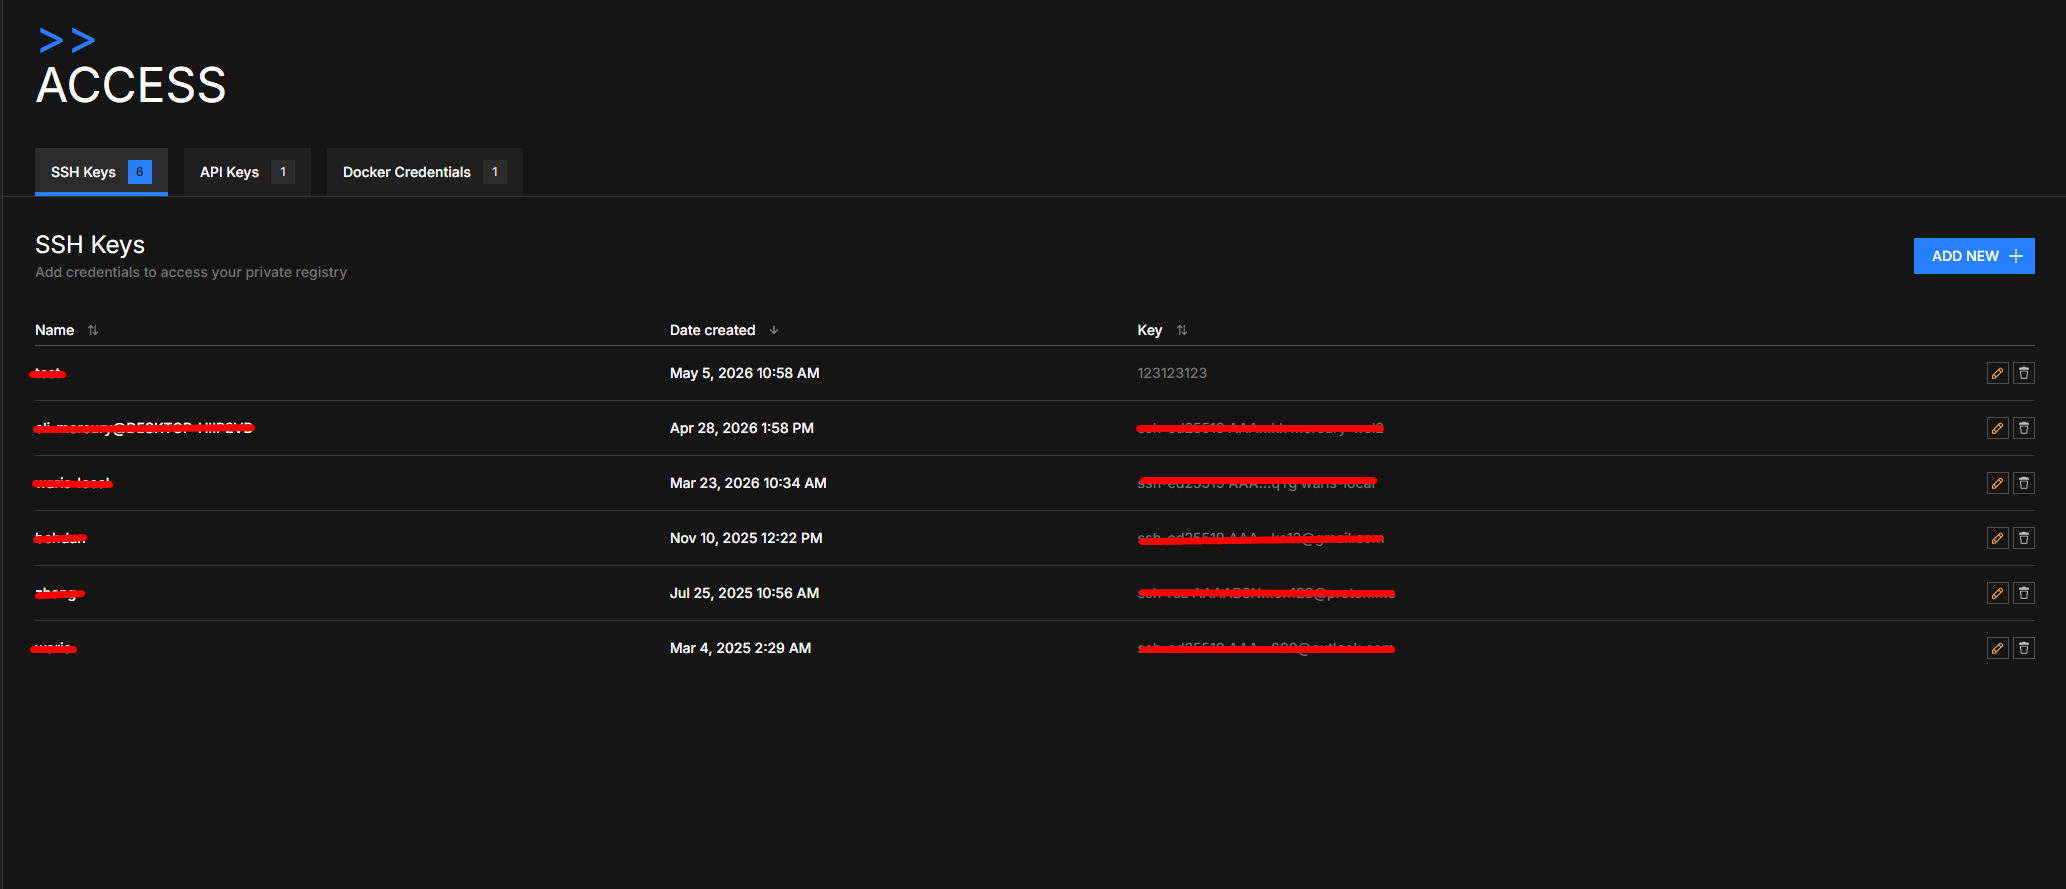
2. Add an SSH key
Click Access in the sidebar (key icon, bottom group) → SSH Keys tab → ADD NEW +. Paste your public key (e.g. ~/.ssh/id_ed25519.pub) and give it a name.
# Generate a key if you don't have one
ssh-keygen -t ed25519 -C "you@example.com"
cat ~/.ssh/id_ed25519.pub
3. Pick a machine
Click Browse Pods in the sidebar. Use the right-hand filter rail to narrow by GPU type (RTX 4090, A100, H100, L40, …), GPU count, location, or Confidential Computing for CVM-isolated nodes.
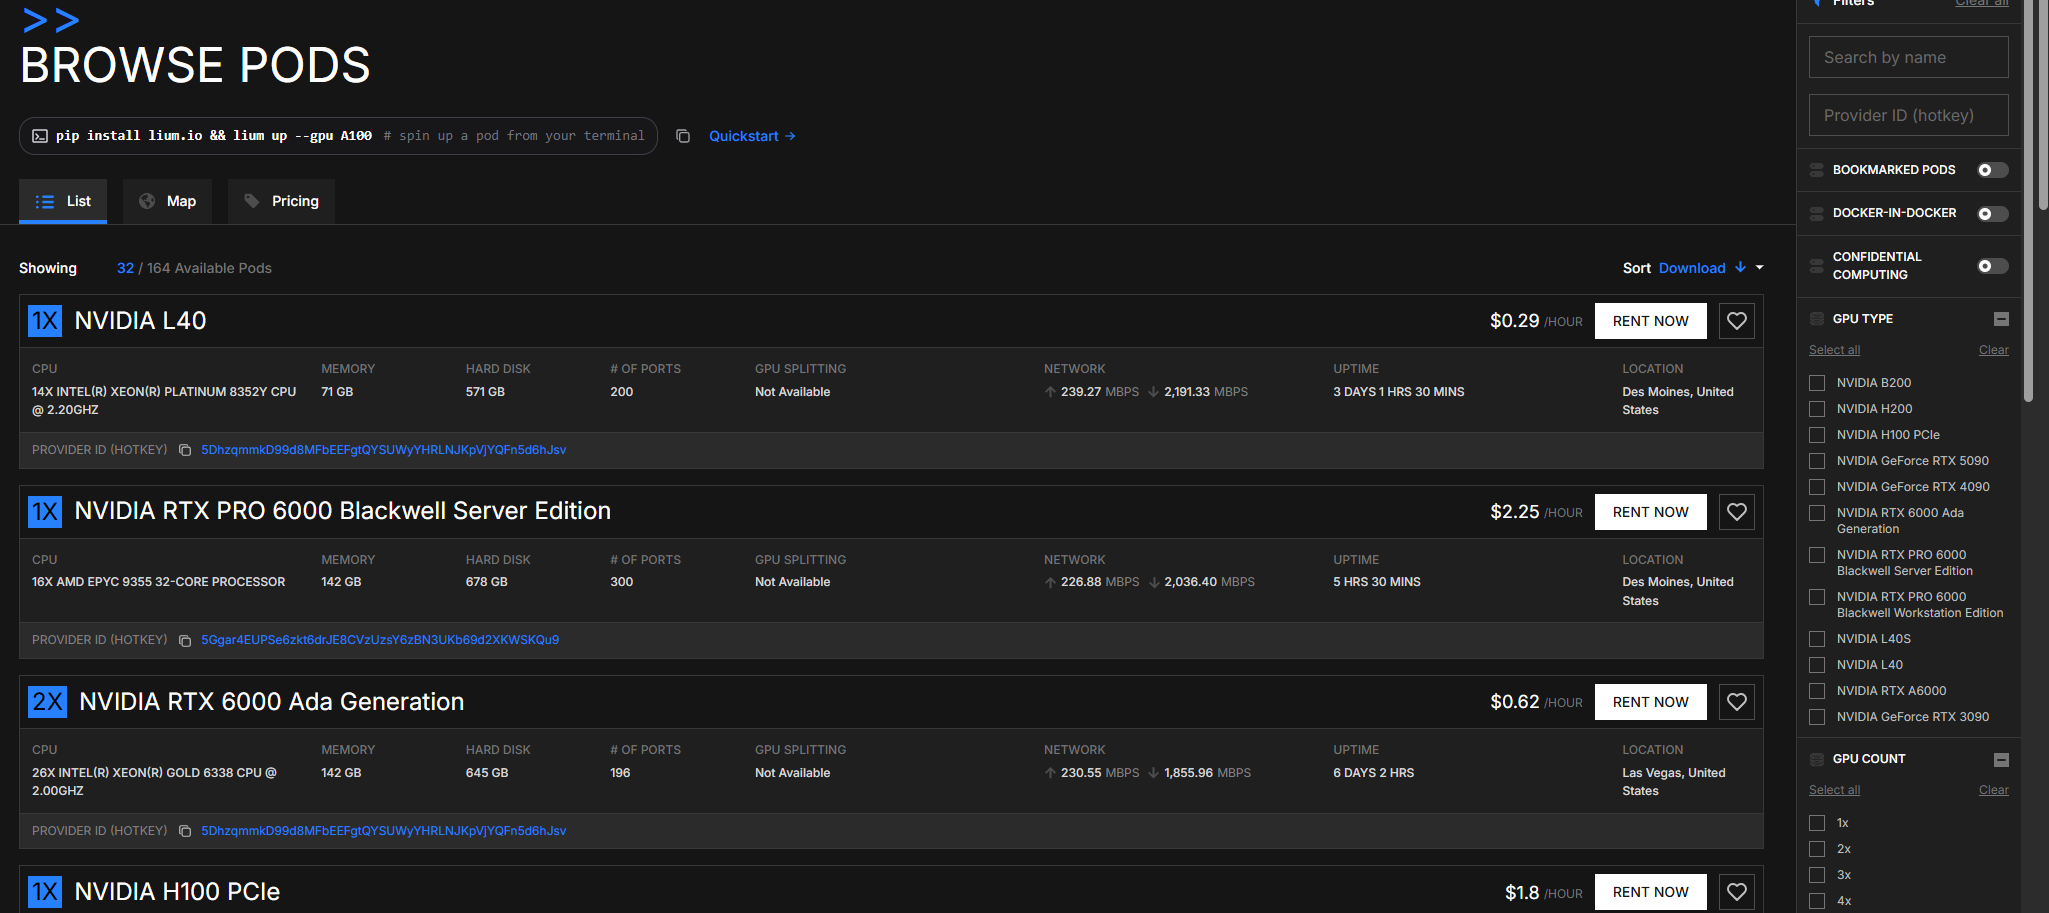
Toggle the Confidential Computing filter on the right. CVM nodes prevent the GPU provider from reading your pod's memory or filesystem. See Pod security.
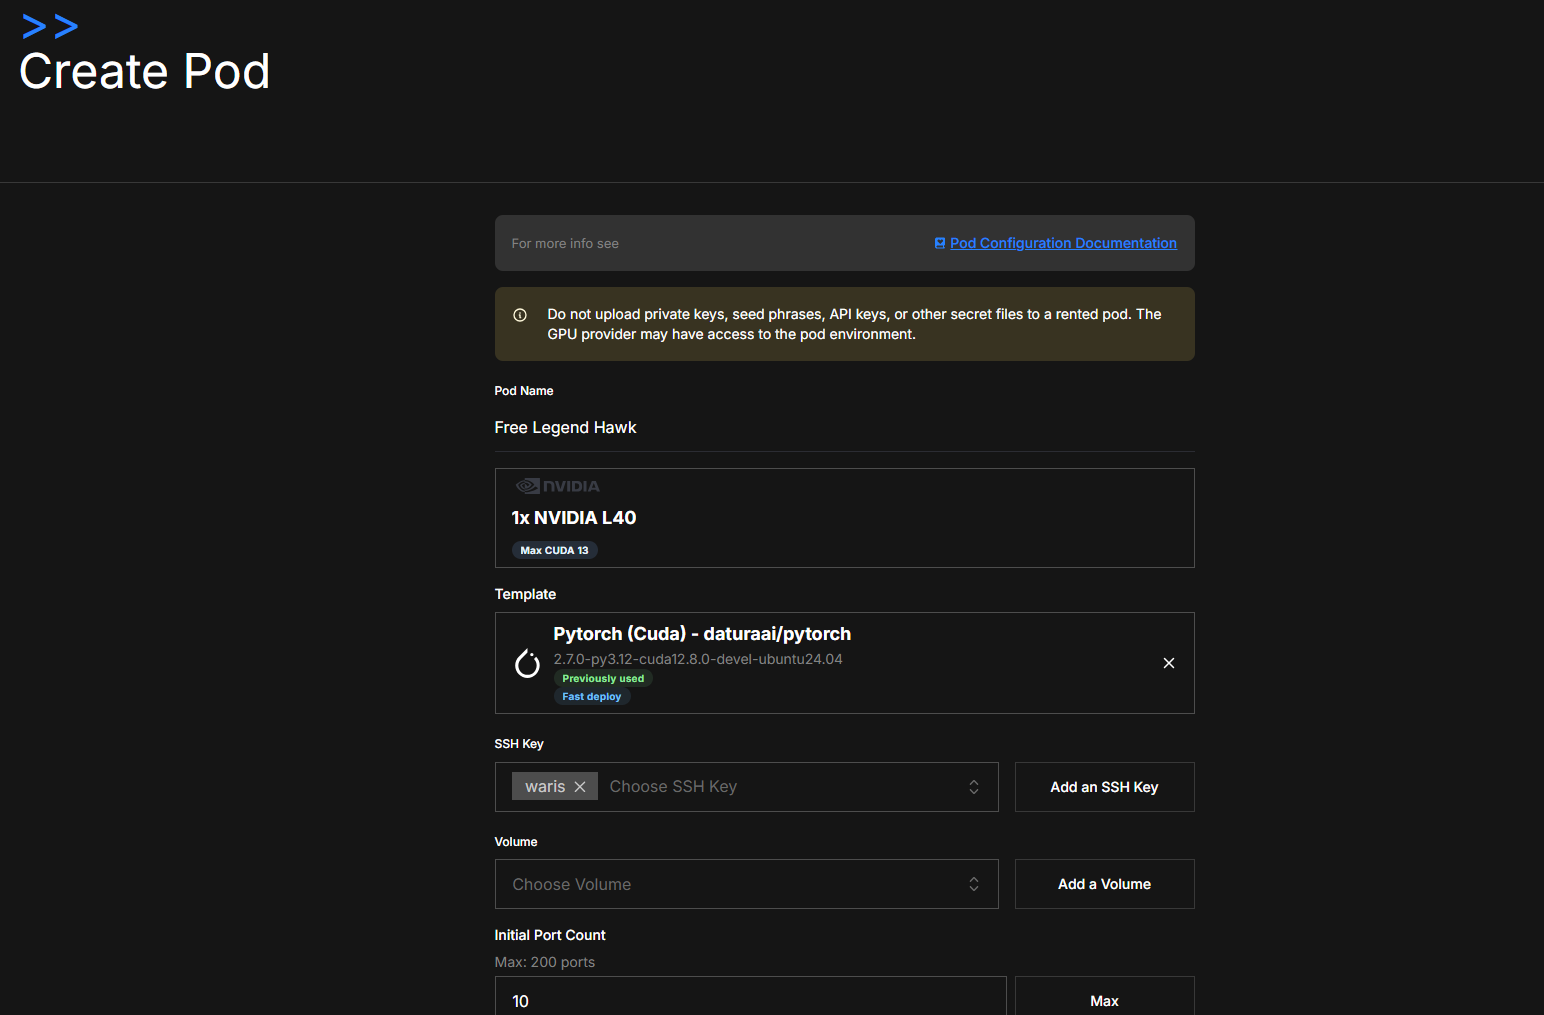
4. Configure and deploy
Click RENT NOW on the row you want. On the Create Pod page:
- Tweak the auto-generated Pod Name if you want.
- Confirm the Template —
Pytorch (Cuda) - daturaai/pytorchis selected by default. - Confirm your SSH Key is in the chip list.
- (Optional) attach a Volume for persistent storage at
/mnt. - (Optional) set Auto-Termination so the pod stops billing after N hours.
- Review the Total cost in the right-hand summary.
- Click Deploy.
5. Connect via SSH
Open Your Pods. Once the card flips to RUNNING, click SEE DETAILS. Copy the SSH command from the SSH CONNECTION field at the top:
ssh root@<pod-ip> -p <pod-port>

You're in. Your home directory is /root and is mapped to the pod's local volume. Anything outside /root (and /mnt if you attached a volume) is not persisted across pod restarts.
Next steps
- Save your work between sessions → Volumes
- Avoid losing checkpoints if a pod dies → Backups
- Spin up the same environment from one image → Templates
- Cap costs with auto-termination → Scheduled termination
- Drive everything from the CLI / an agent → API Keys